
As an Amazon Associate we earn from qualifying purchases. This post contains affiliate links, and we may earn a commission at no extra cost to you.
A doctored card looks perfect in daylight. That’s the whole point of doctoring. Recolored borders, a shaved edge, a signature touched up with fresh ink, all of it is meant to pass a quick glance under a desk lamp.
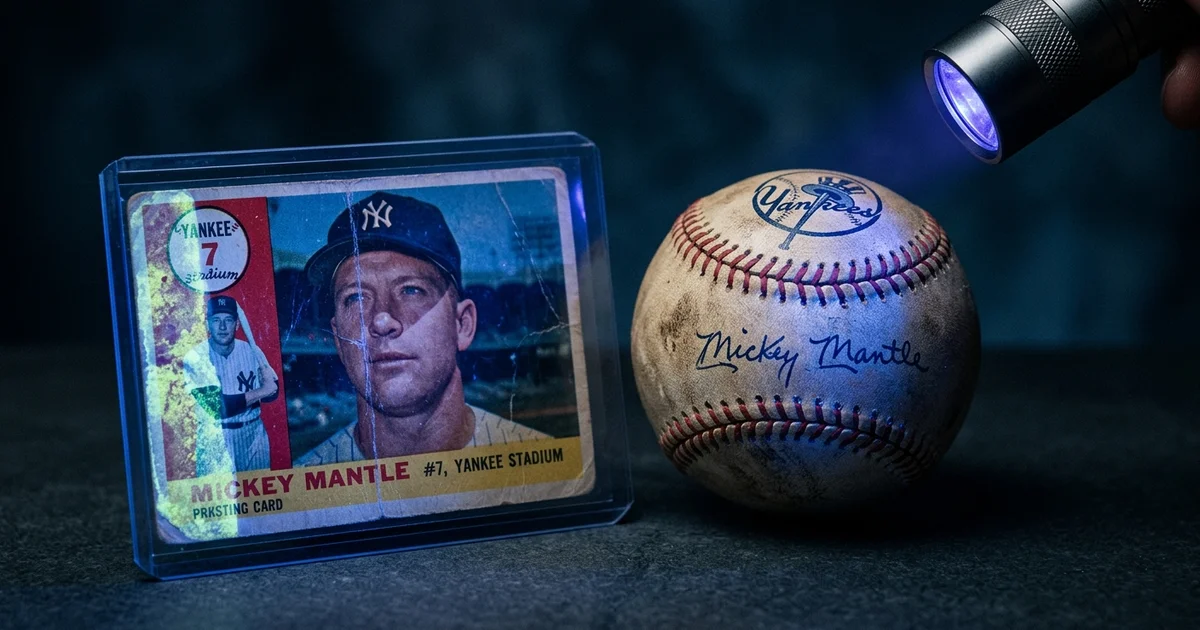
Turn off the lights and hit it with the right ultraviolet light and the lie shows up. Added material fluoresces differently than the original. A recolored corner glows. A trimmed edge catches the beam wrong. Fresh ink over an old signature lights up like a road flare while the genuine autograph stays dull.
The catch is that most “UV flashlights” sold as blacklights are the wrong tool, and they’ll give you a false sense of security. So let’s fix that first, then get to the three lights worth owning.
The one spec that matters: 365nm, not 395nm
Here’s the mistake that costs people money. They grab the cheapest blacklight on the shelf, wave it over a card, see nothing weird, and buy the card. The card was altered. Their light just couldn’t show it.
Almost every bargain UV flashlight runs at 395nm. That wavelength throws a lot of visible purple light and not much useful UV. It’s fine for checking a hotel bedspread. It is not fine for catching a skilled card doctor.
You want 365nm. It sits deeper in the UV band, excites fluorescence in restoration materials far better, and leaks much less visible light to wash out what you’re trying to see. Every serious authenticator, every pre-grader worth listening to, uses 365nm. Not 395nm. This is not a preference, it’s the difference between a tool that works and a toy that doesn’t.
Second thing to look for: a filter lens. Even a good 365nm LED bleeds some visible light. A built-in filter (usually a dark glass called ZWB2 or a “Wood’s glass” lens) blocks that leak so the fluorescence pops against a clean dark background. Every light below has one.
How to actually use it
The light is half of it. Technique is the other half.
Work in a dark room. Not dim, dark. The darker the room, the more obvious the difference between original and added material.
Hold the card flat and move the beam across it at a low angle, then straight on. You’re watching for areas that glow a different color or brightness than their surroundings. Compare like to like, border to border, corner to corner.
What you’re hunting for:
- Recoloring. Someone dabbed color onto a worn border or corner. It fluoresces brighter or a different shade than the untouched border next to it.
- Trimming. A cut edge often looks cleaner and reflects differently than a factory edge, which has a slight fuzz. Undersized cards paired with a suspiciously crisp edge are a red flag.
- Added or restored ink on autographs. A retraced or “improved” signature glows against the older, duller original ink. A completely forged signature laid over a printed or blank area often fluoresces hot and even.
- Adhesive and repairs. Glue, tape residue, and paper patches on cards, photos, or documents almost always light up.
One honest limit, because it matters. UV does not authenticate a signature by itself. It flags added material, restoration, and doctoring. It does not tell you a genuine-looking signature was actually signed by the player. Pair what the light shows with provenance, a known exemplar, and when the money is real, a reputable third-party authenticator. The flashlight is your first filter, not your last word.
The picks
All three are 365nm with a filter lens. The difference is size, output, and how much you want to spend.
Best overall value: ALONEFIRE SV003 10W 365nm
If you buy one light, buy this one. It’s a genuine 365nm LED at 10W behind a hard black filter lens, in an aluminum body that actually sheds heat instead of cooking itself. It’s USB rechargeable and ships with the battery and charger, so there’s no scavenger hunt for cells. For checking cards on a desk, at a show, or before you click buy on an eBay listing, it does everything you need and nothing you don’t.
Good: True filtered 365nm, strong output for the money, aluminum body, comes ready to use with battery and charger.
Not great: It’s a mid-size barrel light, not pocket-friendly. The included charger is one more thing to keep track of. Battery life is fine, not remarkable.
Best Overall Value

ALONEFIRE SV003 10W 365nm
- True filtered 365nm, the wavelength that actually catches doctoring
- 10W output behind a hard black filter lens
- Aluminum body, ships with battery and charger
Best pocketable: uvBeast V3 365nm MINI
Same uvBeast 365nm quality in something that rides in a pocket. This is the one to carry to card shows and shops, where you’re checking a card in someone else’s booth and don’t want to haul a full-size barrel. Filtered 365nm, USB-C charging with no unscrewing or loose cells, and a double-click power switch so it doesn’t cook in your bag. The viewing quality is genuinely a step up from budget lights.
Good: Truly portable, filtered 365nm, simple USB-C charging, clean UV with little visible leak.
Not great: Smaller emitter means less raw output than the full-size uvBeast, so you’ll want a darker room to get the same read. The double-click-to-turn-on switch confuses people at first (it’s not broken, it’s on purpose). Costs more than the Alonefire for less power.
Best Pocketable

uvBeast V3 365nm MINI
- Filtered 365nm in a body that rides in a pocket
- Made for checking cards at shows and shops
- USB-C charging, no loose cells to fumble
Best high output: uvBeast V3 365nm (full size)
Overkill for one card at a time, ideal if you’re checking volume. Triple 365nm LEDs behind a proper filter, high flux density, and a beam that actually reaches across a table. If you’re a dealer, a serious pre-grader, or you’re going through boxes of raw cards and want the fastest, most obvious read, this is the strongest of the three. It also handles documents, photos, and larger memorabilia without making you lean in.
Good: Highest UV output here, filtered 365nm, long range, best for working through a lot of material fast.
Not great: Biggest and priciest of the three. More light than most collectors checking the occasional card will ever use. The output is strong enough that eye protection is a real idea, not an afterthought, so wear UV glasses.
Best High Output
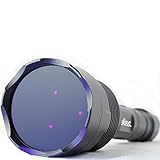
uvBeast V3 365nm (full size)
- Triple 365nm LEDs, highest output of the three
- Long range beam for working through volume fast
- Filtered UV, ideal for dealers and pre-graders
Which one should you get
Most collectors should buy the Alonefire SV003. It’s the right wavelength, it’s filtered, it’s cheap enough that there’s no reason to gamble on a 395nm light, and it’ll catch the doctoring that matters.
Buy the uvBeast MINI if you’re mostly checking cards away from home and want something in your pocket at the show. Buy the full-size uvBeast if you move real volume and want the strongest, fastest read on the table.
Whatever you pick, get 365nm and get a filter. A 395nm light that shows you nothing is worse than no light at all, because it makes you feel safe while you buy the altered card.
A quick word on your eyes
365nm UV is invisible and it does not feel bright, which is exactly why people stare into it. Don’t. Don’t shine it in anyone’s eyes, and with the high-output light, wear UV-blocking glasses. The good lights here either include them or make it easy to add a pair. Cheap habit, real payoff.